Monday, October 25, 2010

Craft Monday: Color Upgrade

The furniture in our house seems to all be darker wood. While I don't mind this, it has started to get to me. So, I decided to start painting things in my house.

Starting with the shelf that holds the dvd player and u-verse box for the tv in our bedroom.


We recently painted our room with an accent wall of red, so I thought it would be fun to paint the shelf red to coordinate with the wall. And as I have said before, I am now in love with spray paint. This can cost me $1.15 and is on its third project!

The shelf had a finish to it, so I took hubs sander and gave it a light sand.


Then I brought it up to hip level (thanks to the awesome gift I gave him last Christmas of saw horses) and spray painted both sides.


After it was dry, I placed it back on the wall, all by myself!


This was a super simple and cheap way to give more character to our bedroom! I am still looking for some shelves I like to paint red and place on a different wall.
I am sharing this simple idea on ALL of these Link Parties! Check them out!

Friday, October 15, 2010

MIA

It has been quite awhile since I have had a chance to blog...or make anything. And I miss it.

However, I am loving life!

I have the most encouraging and hunky husband.

I love grad school...being challenged in so many ways.

And God has great things in store for us at The Bridge, and I am honored to be a part of it.

So although I have been missing from the blog world, I have not been missing out on living life to the fullest!

Hoping to make something in the near future to share with you all!

Monday, September 13, 2010

Craft Monday: Simple Vase Upgrade

Hubs and I headed to our local Habitat for Humanity Re-Store a couple of weeks ago to look at the molding/doorframes for a future project.

While perusing the aisles, I found this for 50 cents (makes me think of the rapper every time I say that...).


I thought with a little spray paint love, this could be a cute vase. I went to Wally World to get some great but cheap spray paint. I put a coat of primer on it first

Then painted it read.

The dogs always seem to want to help me


And I accidently got some red paint on Hubs newly grown grass...


Then placed it on our new table from Ikea in our newly remodeled den.


I still have one more piece of artwork I want to create for our den, and then it is done! I can't wait to share that post with you!


I am sharing this simple and easy craft on ALL OF THESE LINK PARTIES! Check them out!

Sunday, September 12, 2010

Grad School vs the world...

That is what I feel like these days. I love the things I am learning. But after taking a break from school for 4 years, it has taken some getting use to being in school again. And not only being in school again, but being married, working full time, and owning a home.

If I lose my sanity, I have asked Hubs to put me in the best facility in town.

Monday, September 6, 2010

Craft Monday: Germans Est 2009 Wall Art

Since we have only been married for just over a year (according to my husband, it is 16 months..until we get to 2 years, we are going by months, like a toddler...), we are still in the process of decorating our house. We still have quite a few empty walls.


When I saw this idea on Measuring My Life in Love, I knew that I had to do it.


So I downloaded Picasa and got a flicker account (that's right, we didn't use either one). I headed straight over to Leo Reynold's photostream and went to his letter collection. He has hundreds of individual letters that he has photographed, and you can use them if you abide by his restrictions. I spent a couple of hours looking through all of his pictures...I had a blast! I chose to use the large size, as I didn't want the the images to be pixilated and blury.

After picking out the letters, and getting Hubs opinion, I went to the folder they were in on Picasa.

Then I clicked the collage button and chose the grid option, so the letters were put in rows and coloumns. We wanted to make this large, but only your standard sizes were available. I chose the 4x5 option so that when I had it printed on a 16x20, it would be proportionate. The letters were used more than once until I changed the size.


After arranging them on the computer, I saved the collage.


I wanted the picture right away, so I printed it from Costco. It cost me $6, and I had it in a few hours.


Hubs and I were going to make a frame for it out of old trim or molding and paint it red. But then I found this awesome frame at Michael's, it was just what I wanted, on sale AND I had a coupon.


Hubs liked the "s"...yes, its from shrek.


Now, this blank wall has this amazing art work on it. And all for $19.


I am sharing this Est Wall Art on ALL OF THESE LINK PARTIES! Check them out!


Monday, August 23, 2010

Craft Monday: Chalkboard Pot

I discovered something recently that I am sure most already knew about.

Chalkboard. Paint.

You can really turn anything into a chalkboard. It is amazing. Really, its all about the little things in life.

So I went to Lowe's and picked up a quart. Then went home to see what I could paint.

And I found this.

Kinda old. Kinda boring.

I had been touching up our newly remodeled den and decided that the top portion of the pot should be that same color.

I taped off the top portion of the pot once the paint dried, and went to town painting the bottom portion!

After a few minor touch ups, I began writing on it.

I forgot how much I love playing with chalk! After several words, we settled on "Smile". Since Hubs has to look at it everyday, he got a say in what I wrote. I can only imagine what he will change it to on a daily basis.

For now, the pot and plant live on our kitchen window sill.

I wonder what else I will find in our house that I can paint.....

I am sharing this Chalkboard Pot on ALL of these Link Parties!

Sunday, August 22, 2010

Grad School Starts Tomorrow!

Monday is my first day of Grad School. Haven't been in school since May of 2006.

Hubs told me tonight that he forgot to get me a backpack and colored pencils. I assured him it was ok. Since its an online program and all.

However, I did let him treat me to one last treat before school starts...ice cream!

Monday, August 16, 2010

Craft Monday: Home Made Decorative Pillows

Sewing. Not really my thing. Now my mother in law...she lives to sew. I think.
I don't like to sew so much that I always pretend that I don't know how to sew a button so my mom will still do it. If I pretend not to be able to sew a button, then I definitely don't know how to use a sewing machine.

We are in the middle of remodeling our den. Paint is done. Frugal Wall Art, done. New chairs put together. Furniture re-arranged. I was on the search for some decorative pillows, but couldn't find any I liked. But I had seen fabric at Living With Punks house.

So I did the unthinkable. I got online and ordered this fabric from Quilthome.com.

I love the shade of blue, white, and different shades of red.


I bought an 18" square pillow form.

I decided to go with the standard square pillow. Since the pillow is 18", I made my cut at 19"x19" twice (since there are 2 sides to the pillow...)
Then I pinned the two sides together inside out. I know there is a name for that, but can't recall it.

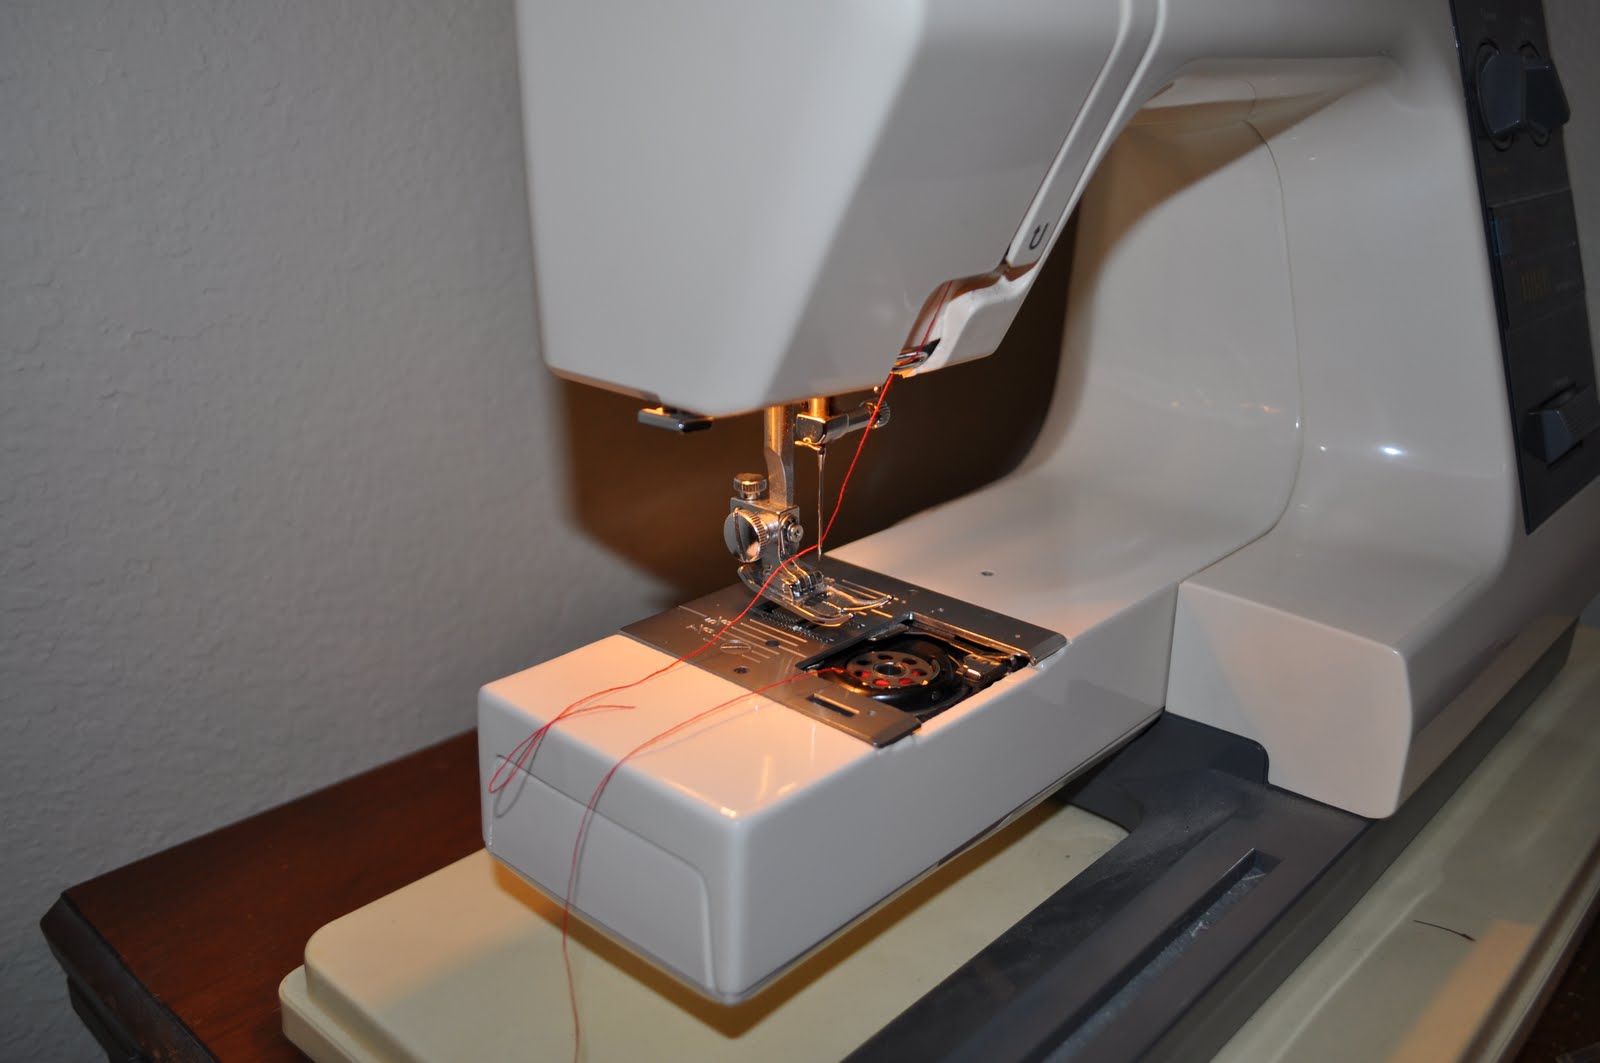
This is a picture of my mom's 18 year old sewing machine. The first night, it didn't want to play nice. I even considered going to buy one! GASP! Hubs convinced me that I didn't need to buy one considering I wasn't sure if I would even like sewing...good call on his part. Tonight, it worked just fine.

I sewed the fabric together a half inch in.


I sewed the three sides together, and left one side un-sewn so I could put the pillow form in it.


After putting in the pillow form, I pinned the un-sewn side under a half an inch, then pinned it together. After I pinned it, I basted it (apparently this is a loose stitch to hold the fabric in place). I don't know who came up with that, but it was genius.


I then sewed the last side by hand.

I couldn't be more thrilled with how they came out.

My amazing mother was patient with me and taught me how to sew! Here she is showing off my new pillow.
The pillows look great in our den!


I'm still on the fence about sewing again. Using the machine was fine, it was definitely the hand sewn part that I disliked the most!


I am sharing these decorative pillows on ALL of these link parties!

Sunday, August 15, 2010

Summer Swimming Doggy Style

We taught Madi how to swim this summer. When getting in the pool, she doesn't just step in. She jumps in. Every time. And it's hilarious.


Sunday, August 8, 2010

Craft Monday: Frugal Wall Art

A couple weeks ago, I saw this amazing idea to make wall art on a blog titled Frugal Life Project through a link up party at Keeping it Simple. I knew this was the first thing I wanted to make when I got back in country as decoration for our newly remodeled den...and I loved making them.

First stop, craft store to get canvases and scrapbook paper. I got a great deal on 12"x12" canvases that were different depths. This is the exact size of the large scrapbook paper.


Had to show off Hubs new garage cabinets...this was a purchase made while I was gone...it makes the garage look much cleaner.

Brown spray paint to paint the edges of the canvas.

I sprayed them twice with the canvas side up, then flipped them over and sprayed one more coat to make sure I got the edges really good.


The dogs wanted to help.


I found this all purpose spray adhesive. Didn't work quite like I wanted. Had to put some Gorilla Glue on it to make it stick.

After I placed the scrapbook paper on my canvas, I let it dry before putting on a clear enamel coat.


Instead of putting holes in our newly painted den, I decided to use the Command Damage Free Hangers. I think I may have found a new love in my life. These things are amazing!


Hubs got out the level and helped me put them up. I love the way they turned out!


New wall art for our den, $23, plus leftover materials...can't beat that!

I am sharing this Frugal Wall Art on ALL of these Link Up Parties! Go check them out!